Sterilize & organize · workflow guide
Every reusable instrument goes around the same loop after each patient: from the chair to cleaning, inspection, packaging, sterilisation, storage and back. This guide walks through the loop, explains which instruments need which level of processing, and shows how cassettes and colour coding make it faster and safer.
Instrument reprocessing runs in six steps: transport, cleaning, drying and inspection, packaging, sterilisation and storage, checked by monitoring. The Spaulding categories decide the level: critical instruments that penetrate tissue or bone must be sterilised; semi-critical ones that touch mucosa should be heat-sterilised when possible; non-critical items only touch intact skin. Cassettes keep a set together through the whole loop.
What are the steps of dental instrument sterilization?
| Step | What happens | Tip |
|---|---|---|
| 1. Transport | Used instruments go from the chair to the reprocessing area in a closed, puncture-resistant container or cassette | Keep sets together from the start |
| 2. Cleaning | Automated cleaning in a washer-disinfector or ultrasonic bath removes blood and debris | Cleaning comes first: debris shields microorganisms from sterilisation |
| 3. Drying & inspection | Instruments are dried and checked for residue, damage and sharpness | Replace or sharpen blunt scalers and curettes now |
| 4. Packaging | Instruments are wrapped or pouched, often in a cassette, and labelled | Label with steriliser, cycle and date |
| 5. Sterilisation | Steam sterilisation in an autoclave | Follow the manufacturer's instructions for use |
| 6. Storage | Packs are stored dry and covered until use | Check pack integrity before opening |
The cycle is checked by monitoring: mechanical (time, temperature and pressure), chemical indicators on and in each pack, and regular biological spore tests.
What are the three categories of dental instruments?
The Spaulding classification sorts instruments by infection risk, which decides how they are processed.
| Category | Contact | Dental examples | Processing |
|---|---|---|---|
| Critical | Penetrates soft tissue or bone | Surgical instruments, periodontal scalers and curettes, extraction forceps | Sterilisation |
| Semi-critical | Touches mucous membranes, no penetration | Mouth mirrors, amalgam condensers, reusable impression trays | Heat sterilisation where possible, otherwise high-level disinfection |
| Non-critical | Touches intact skin only | X-ray head, blood pressure cuff | Cleaning and disinfection |
Swipe to see the full table →
Dental handpieces are always heat-sterilised between patients.
What temperature are dental instruments sterilised at?
Most European dental practices use a class B vacuum steam steriliser. The common cycle holds 134 °C for at least 3 minutes; some cycles run at 121 °C with a longer holding time. The right cycle is the one in the steriliser's and the instrument manufacturer's instructions for use.
ErgoDenta instruments are reprocessed by validated steam sterilisation and should never be exposed to temperatures above 138 °C. Dry them thoroughly after the cycle to prevent staining; see why dental instruments rust.
The cassette workflow
Why use instrument cassettes?
A cassette holds a complete set from the chair through cleaning, sterilisation and storage, so instruments are handled less, stay together and arrive at the next patient ready to use.
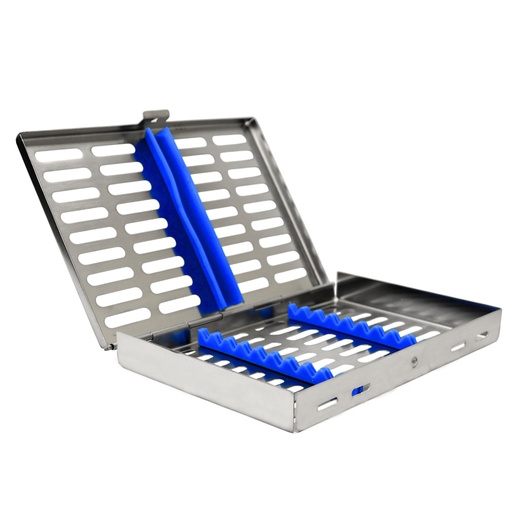 Sterilization cassette for 10Instrument cassetteHolds ten instruments through the washer and autoclave.View instrument →
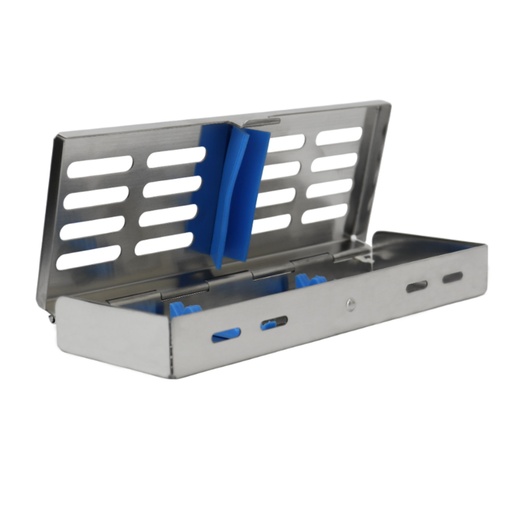 Sterilization cassette for 5Small cassetteFor short procedure sets.View instrument →
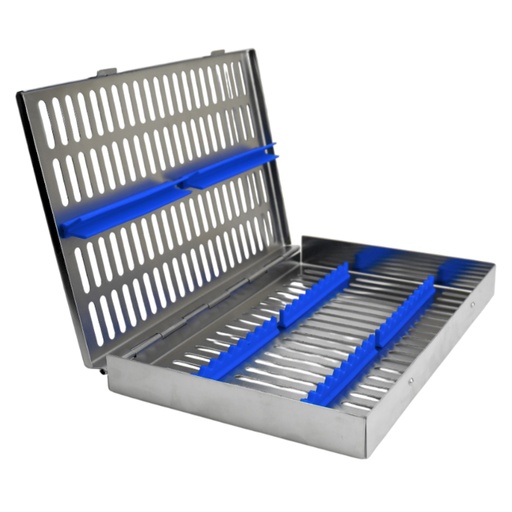 Sterilization cassette for 20Large cassetteFor surgical and complete sets.View instrument →
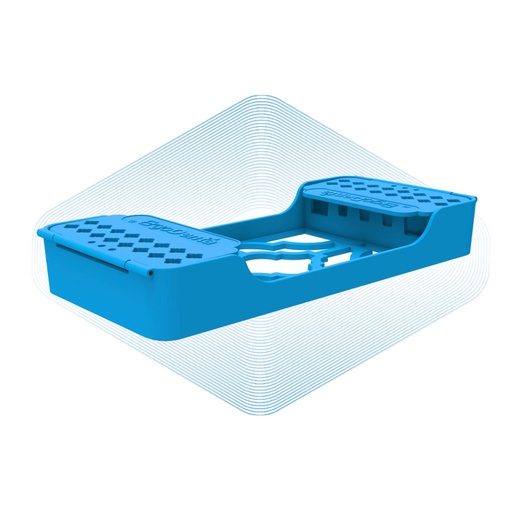 ErgoTray 5Set-up trayChairside tray for five instruments.View instrument →
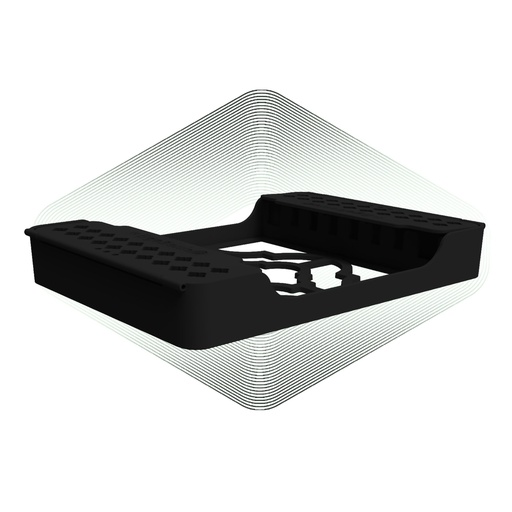 ErgoTray 8Set-up trayChairside tray for eight instruments.View instrument →
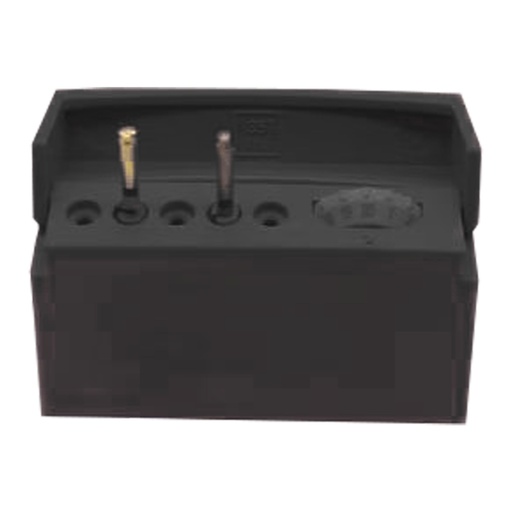 Endodontic blockEndo file holderKeeps files organised with a memory holder.View instrument →
Colour coding
How do you colour-code dental instruments?
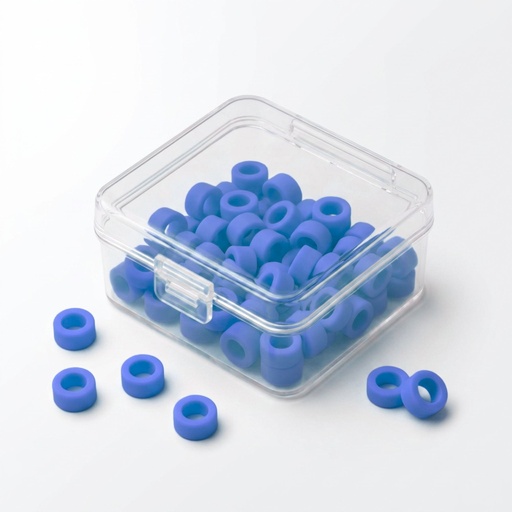
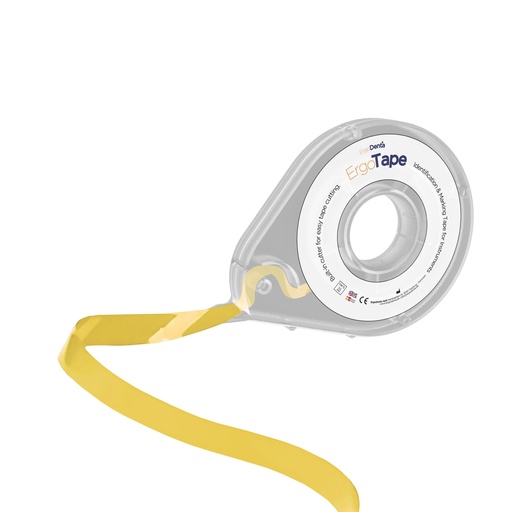
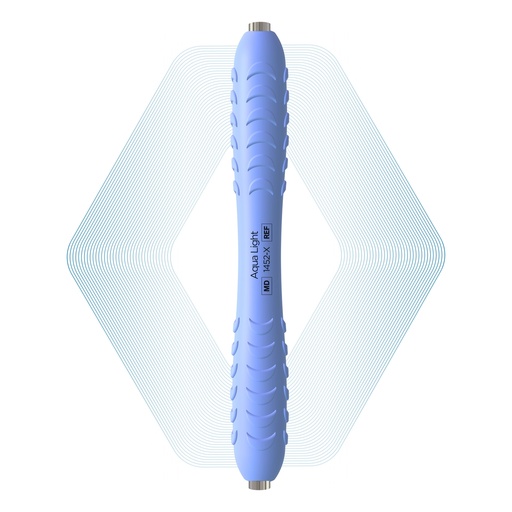
Pick one colour per procedure, room or clinician, then mark every instrument in the set with it: a coloured handle, a colour-code ring or ErgoTape. Matching cassettes and trays make an incomplete set obvious at a glance.
Organise your reprocessing
Cassettes, ErgoTrays, colour-code rings and ErgoTape to keep every set complete from the chair to the autoclave and back.
Questions
Frequently asked questions
What are the steps of dental instrument sterilization?
Transport in a closed container or cassette, cleaning in a washer-disinfector or ultrasonic bath, drying and inspection, packaging and labelling, steam sterilisation, and dry, covered storage, with mechanical, chemical and biological monitoring.
What are the three categories of dental instruments?
The Spaulding categories: critical instruments that penetrate soft tissue or bone and must be sterilised; semi-critical instruments that touch mucosa and should be heat-sterilised where possible; and non-critical items that touch only intact skin and need cleaning and disinfection.
What temperature are dental instruments sterilised at?
Most European practices use a class B steam steriliser at 134 °C with a holding time of at least 3 minutes; some cycles run at 121 °C for longer. Always follow the instructions for use. ErgoDenta instruments should never exceed 138 °C.
Why use instrument cassettes?
Cassettes keep a complete set together from the chair through cleaning, sterilisation and storage. Instruments are handled less, which reduces sharps injuries and damage, and every set arrives complete.
How do you colour-code dental instruments?
Assign a colour per procedure, room or clinician, then mark each instrument with a coloured handle, colour-code ring or ErgoTape, and match the cassette or tray.
Sources
- CDC. Guidelines for Infection Control in Dental Health-Care Settings, 2003; Summary of Infection Prevention Practices in Dental Settings.
- Spaulding EH. Chemical disinfection of medical and surgical materials, 1968.
- Department of Health (UK). HTM 01-05: Decontamination in primary care dental practices.